|
|
|
|
|
|
|
Pfarrout Graphics Inc. |
|
|
|
|
So many toys, so little time... |
|
|
|||||||||
| |||||||||||||||||||||
|
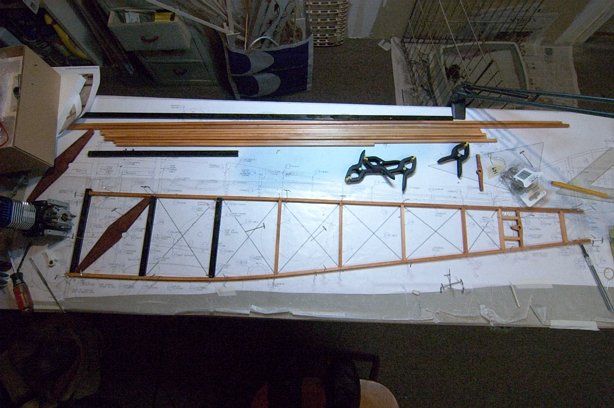
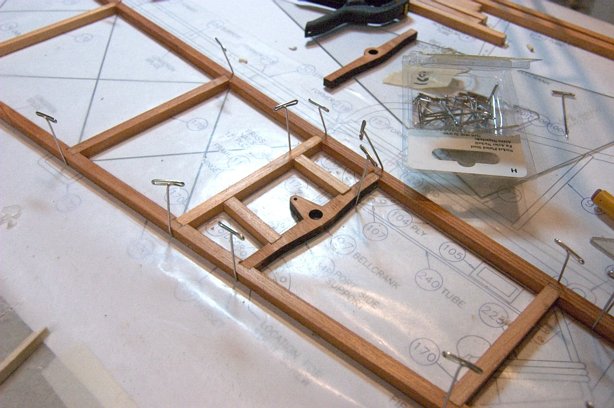
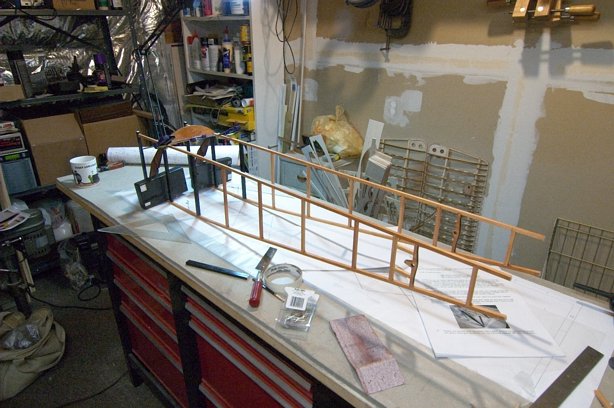
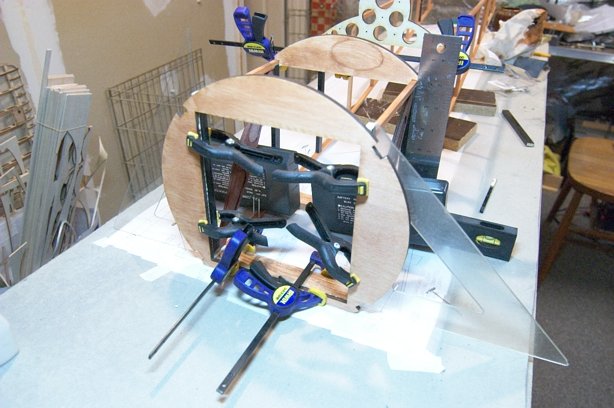
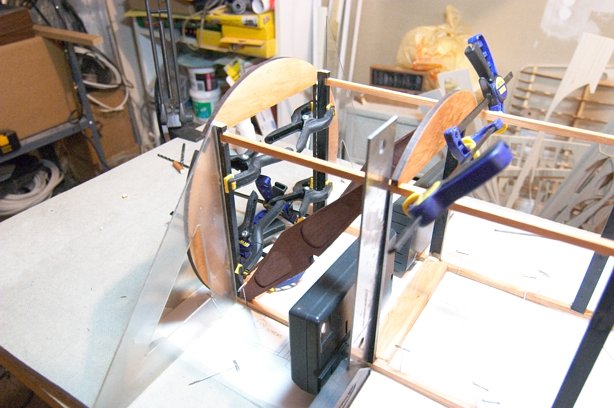
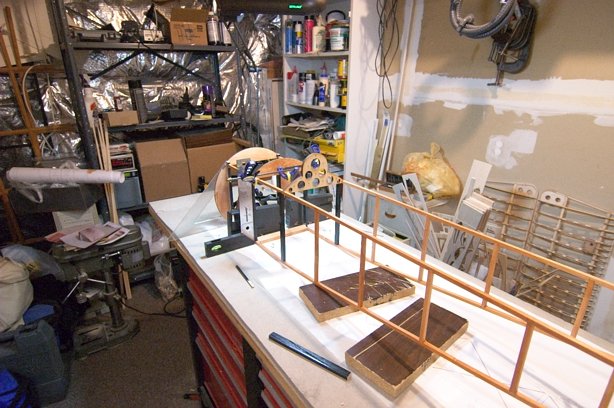
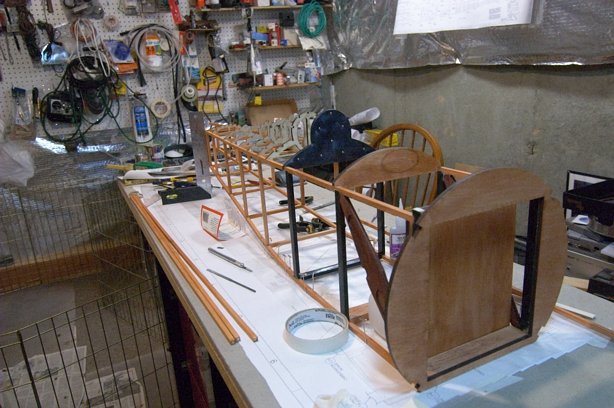
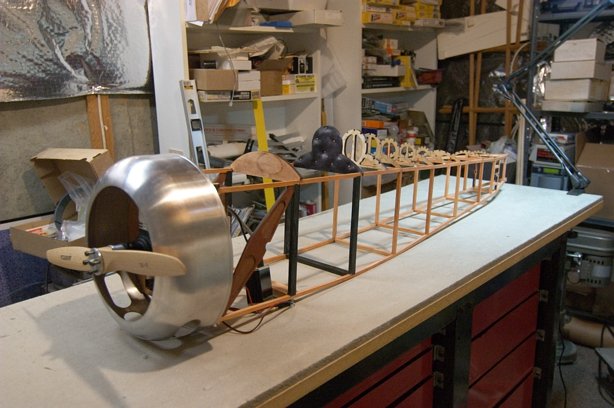
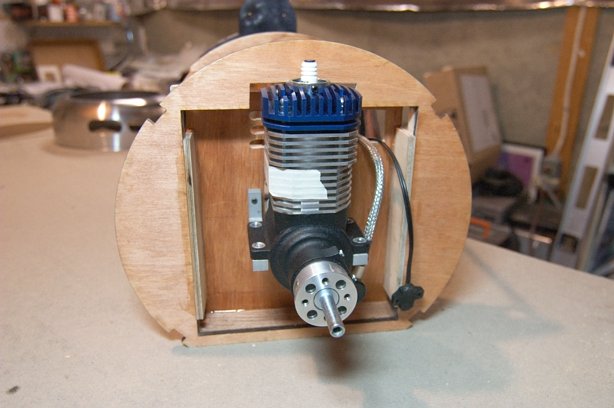
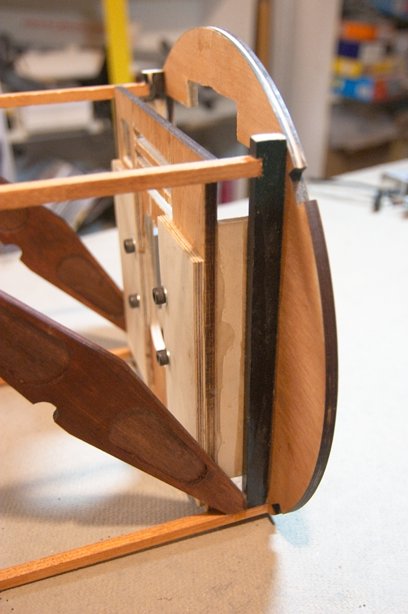
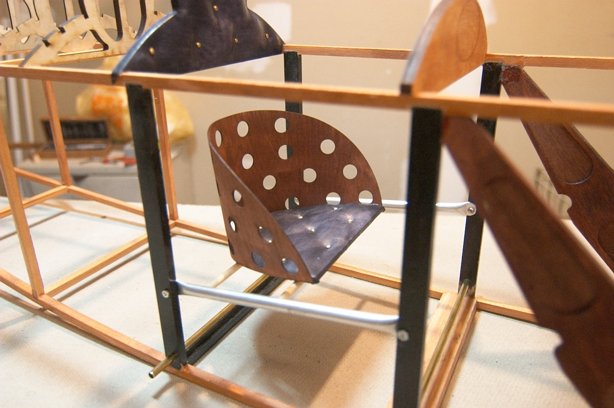
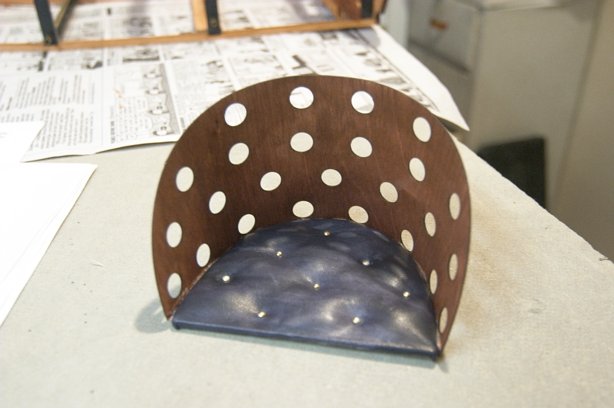
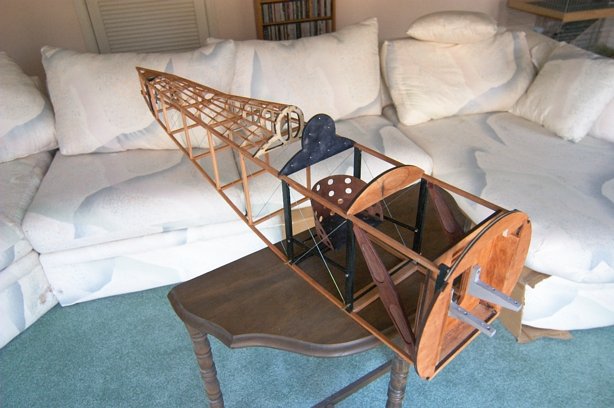
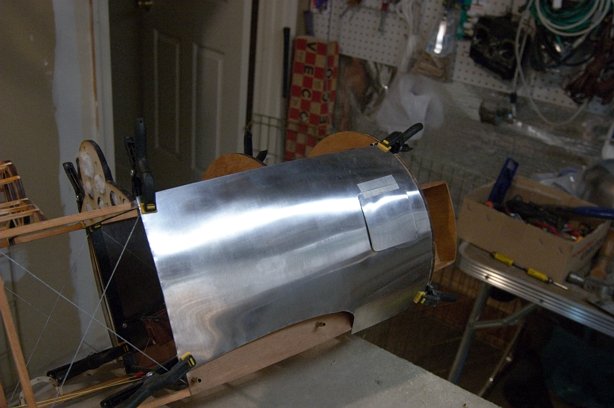
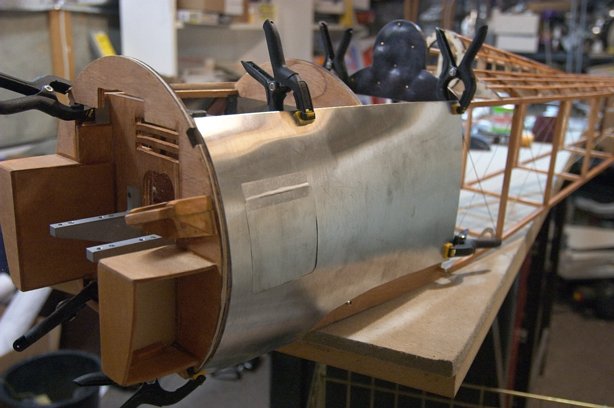
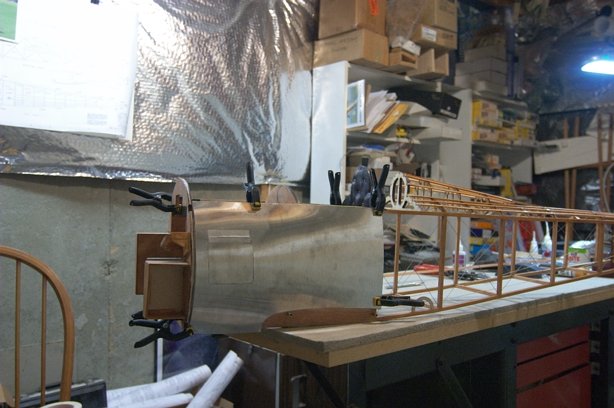
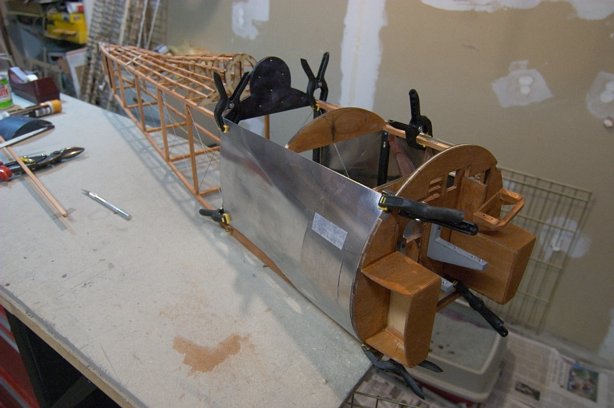
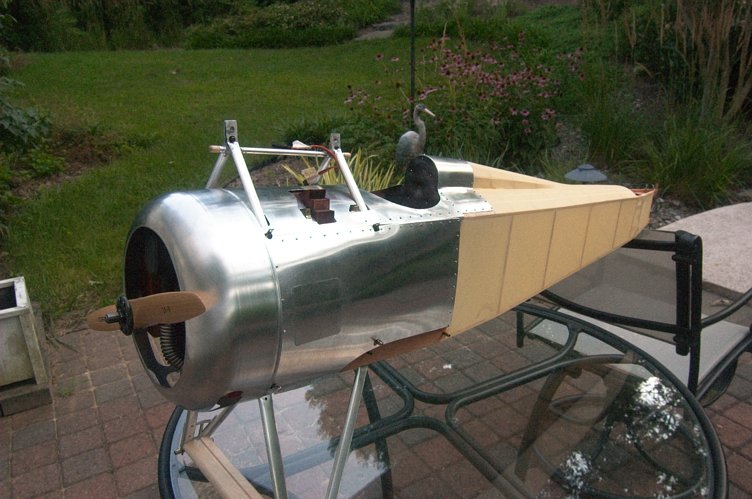
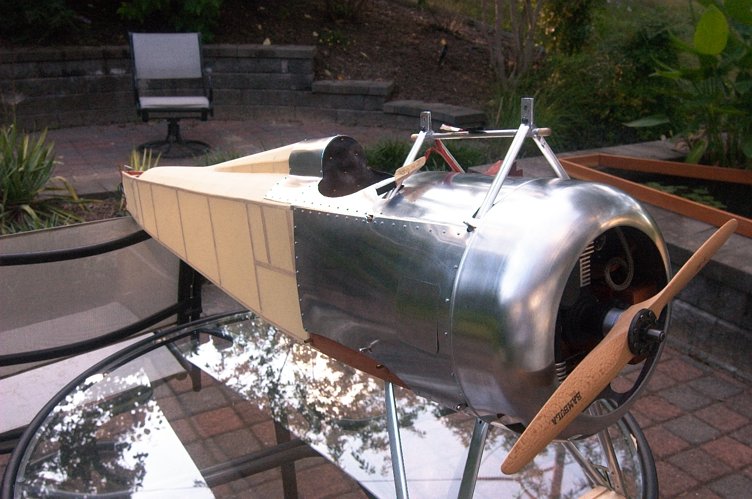
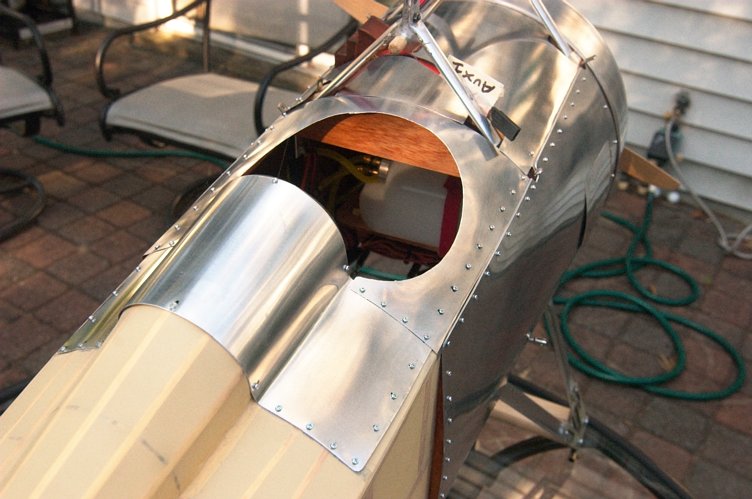
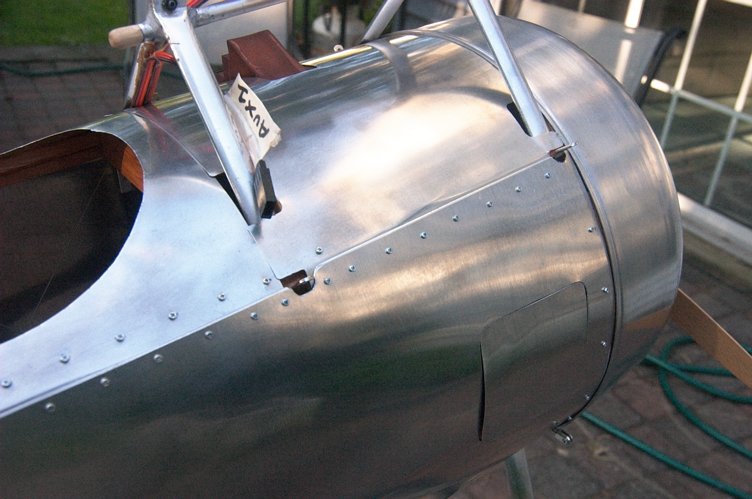
Started on the Fuselage on 11/22/05 1/08/05. Aileron assembled, more fuselage details including "wire" rigging. I used kevlar cable instead of the supplied steel cable. Much lighter in weight. 12/28/05. Finally got the firewall and all the motor attachments done, lots of fiddling. Ran the engine on a test stand setup. Started right up and ran well. Drilled the uprights for the lower wing attachments and it fit perfectly. That's a relief. All the parts are stained with "golden fruit" dye based stain. The cross pieces are mahogany stained. Some of the major uprights are painted gloss black. 4/3/06 - Working on the slow parts - the front aluminum plates. 5/31/06 - Most of the radio and innards are installed 7/23/06 - After many months of fabrication and fitting the Aluminum fuselage panels are attached.
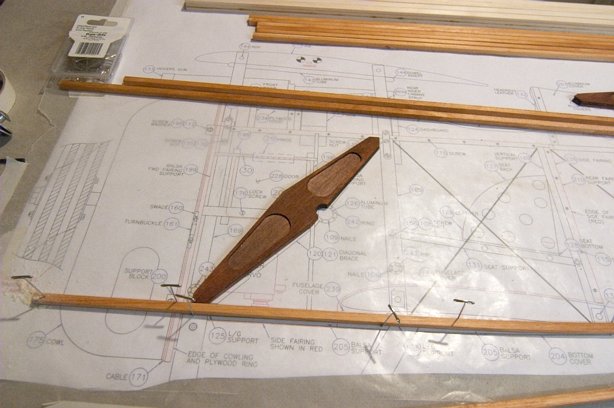
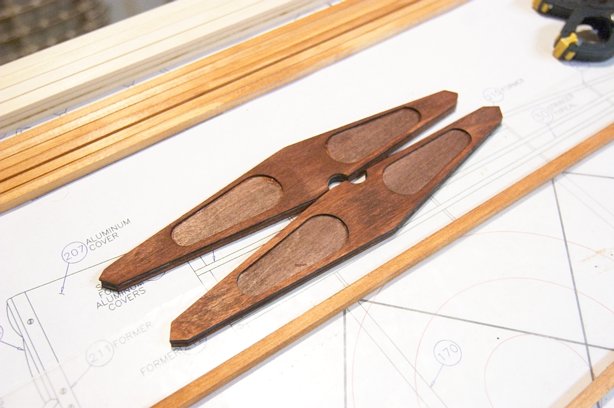
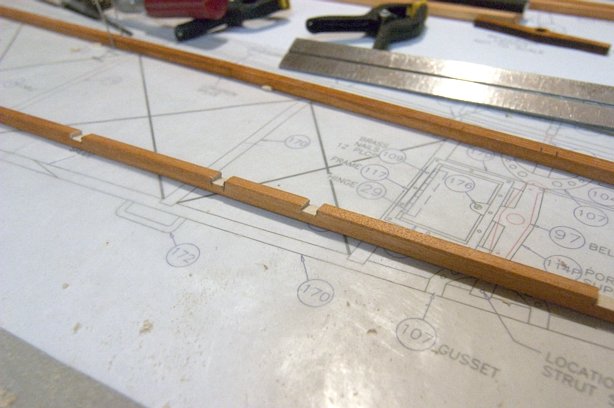
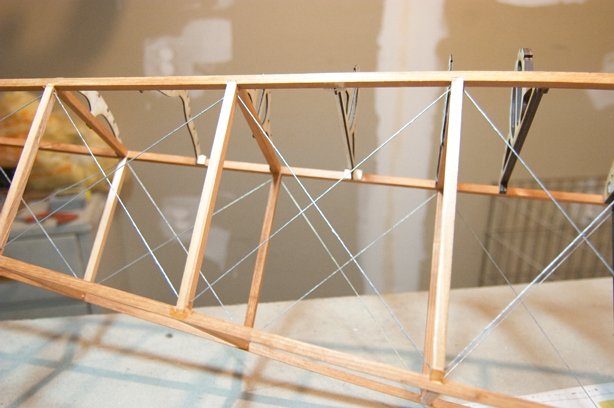
The spars are notched by hand using a razor saw and a small x-acto flat blade knife
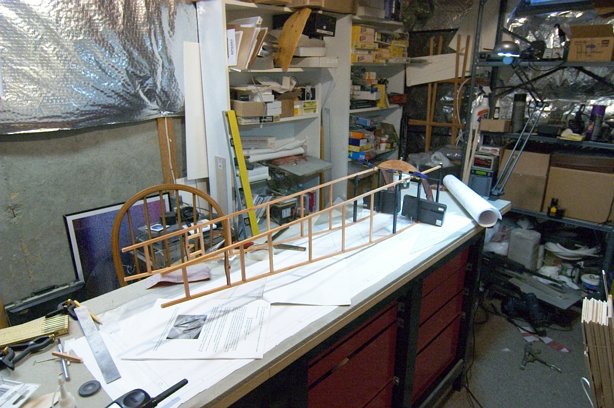
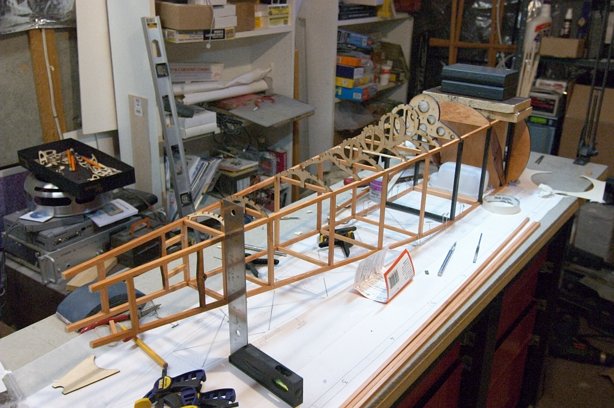
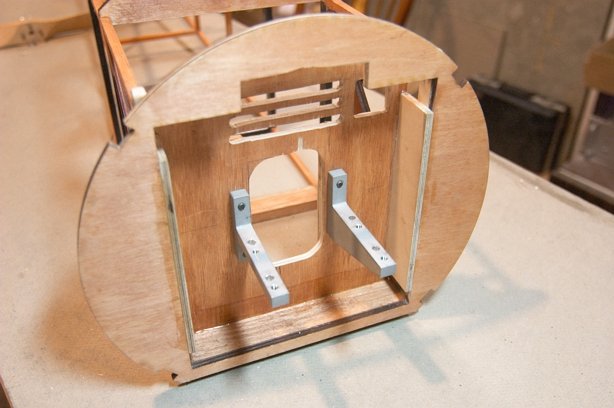
Progress as of 12/7/05
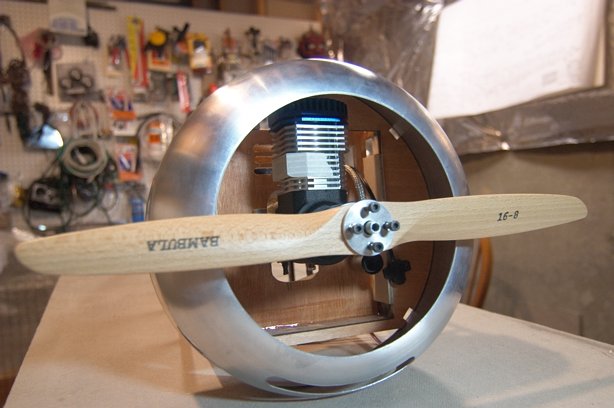
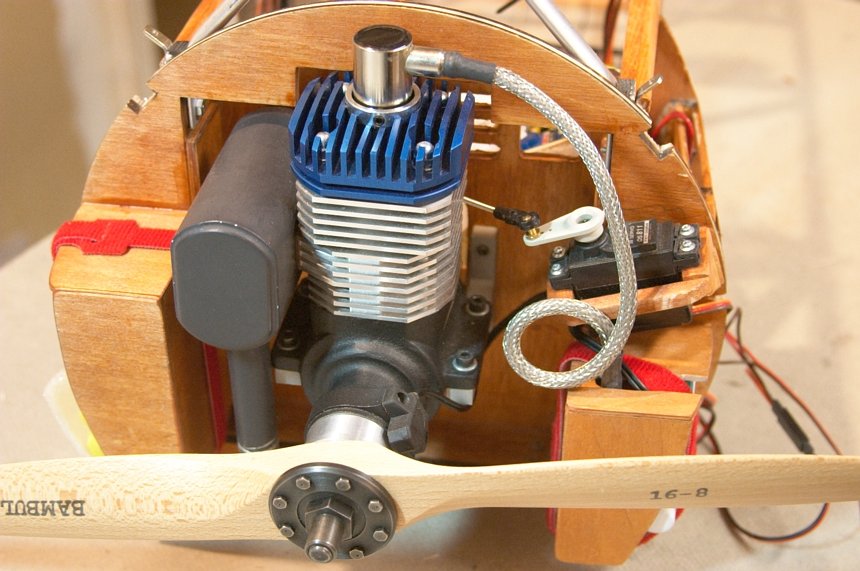
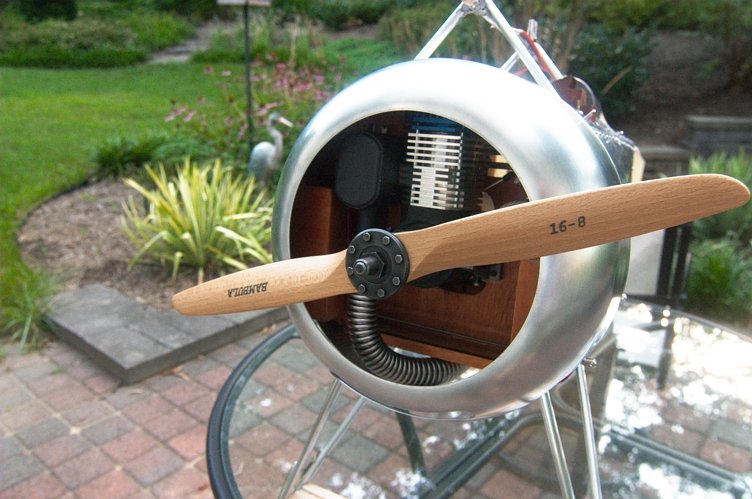
The Roto-25 just fits...
I doubled up on the attachment point for the engine mount brackets.
Epoxied plywood brackets to the uprights and the firewall face.
After staining:
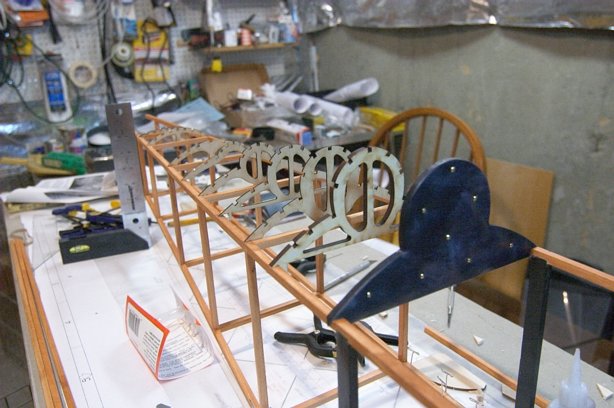
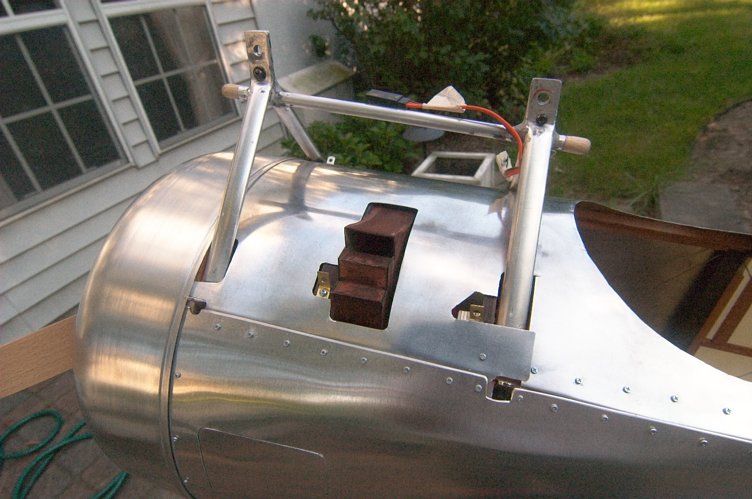
Rear deck stringers added
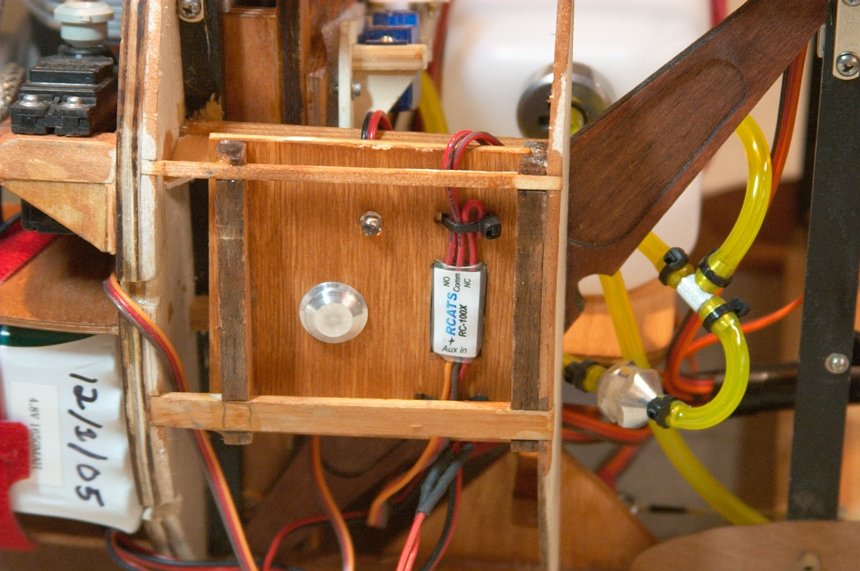
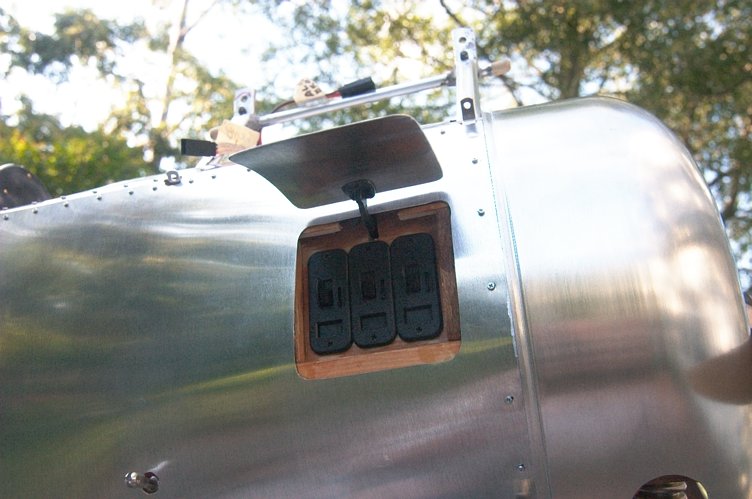
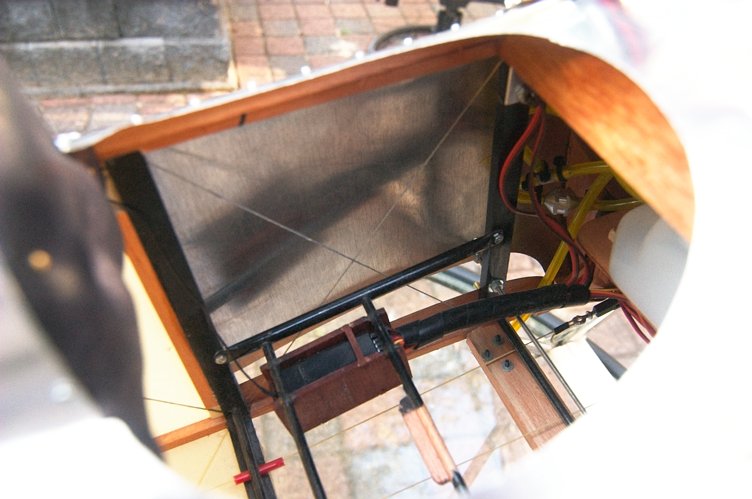
The fuel dot, rpm indicator from the Roto 25 electronic ignition module and the rcats ignition switch.
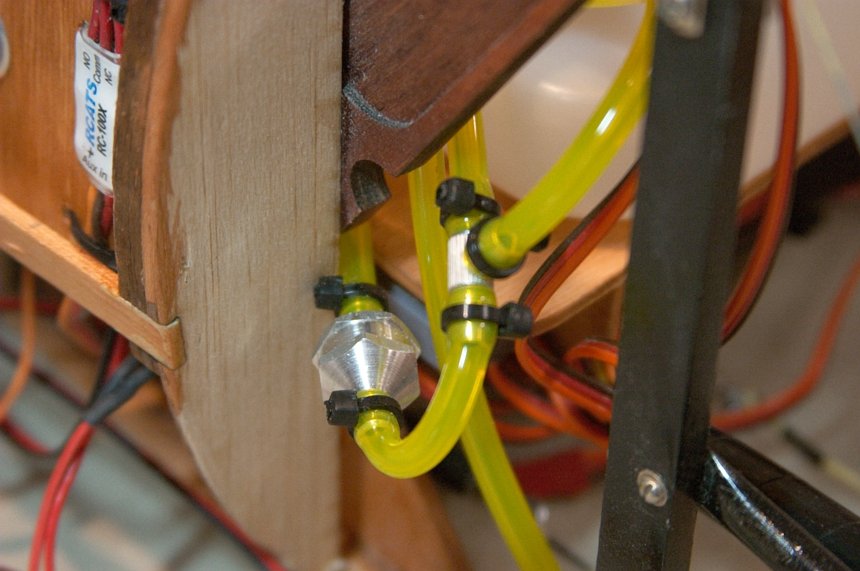
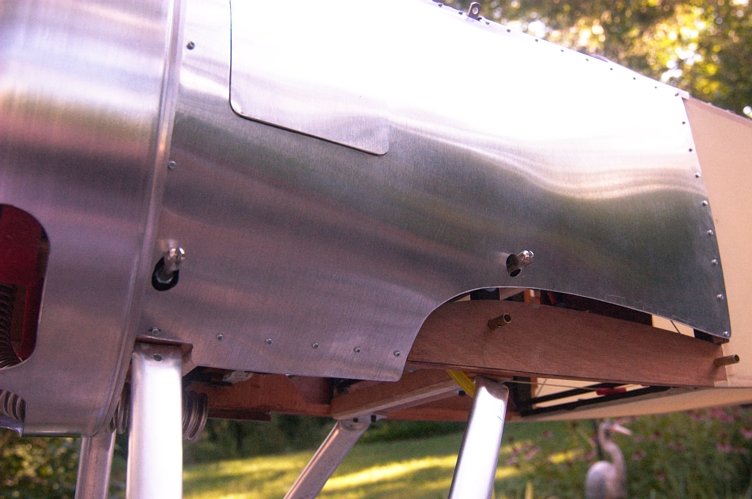
Fuel filter
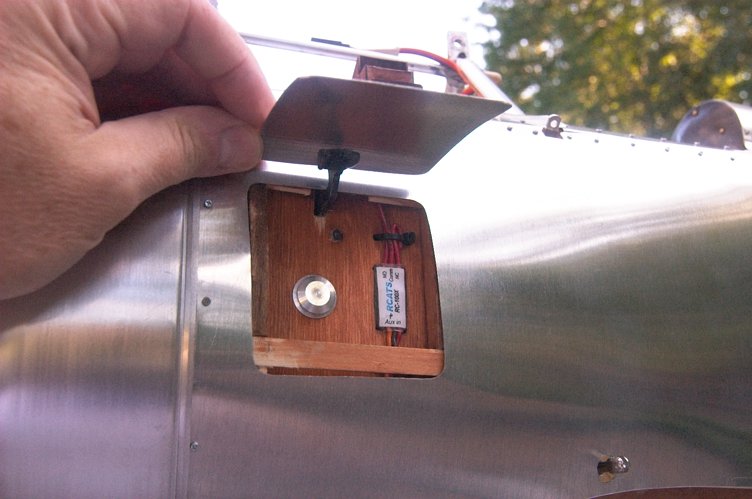
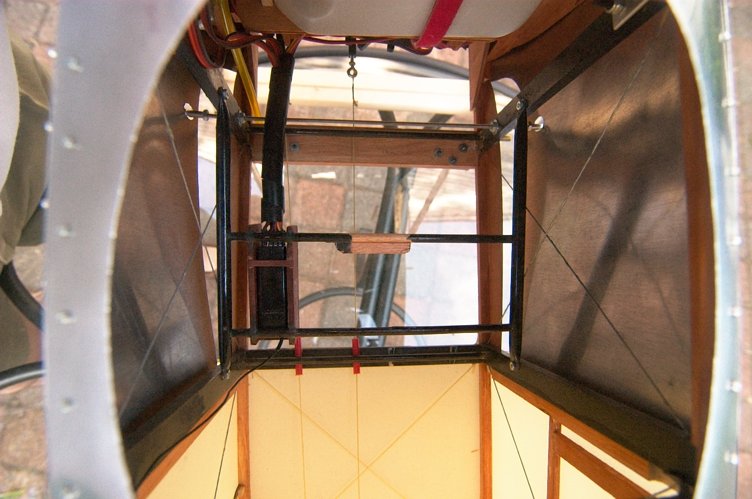
Receiver box (JR mini 7 channel)
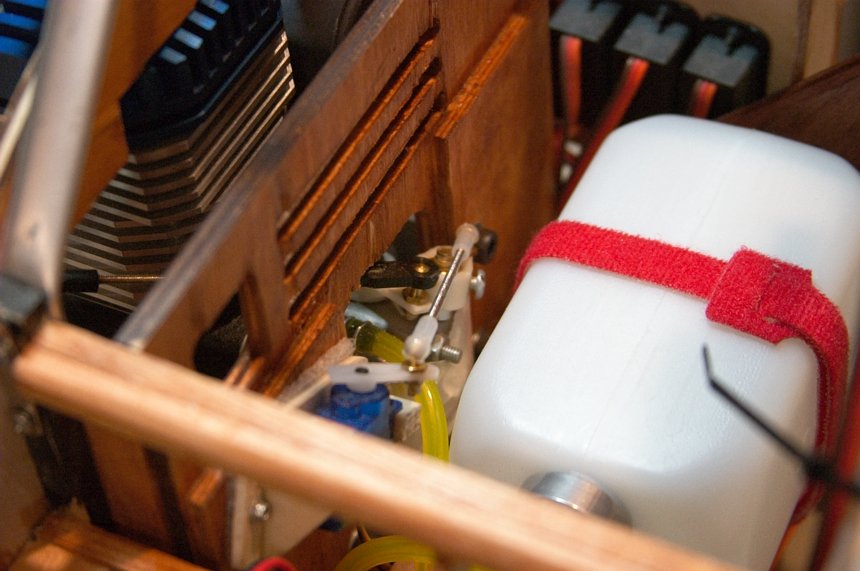
Choke servo and linkage (micro servo)
Throttle servo, ignition and battery boxes up front and Ralph Vanemanns prop plate.
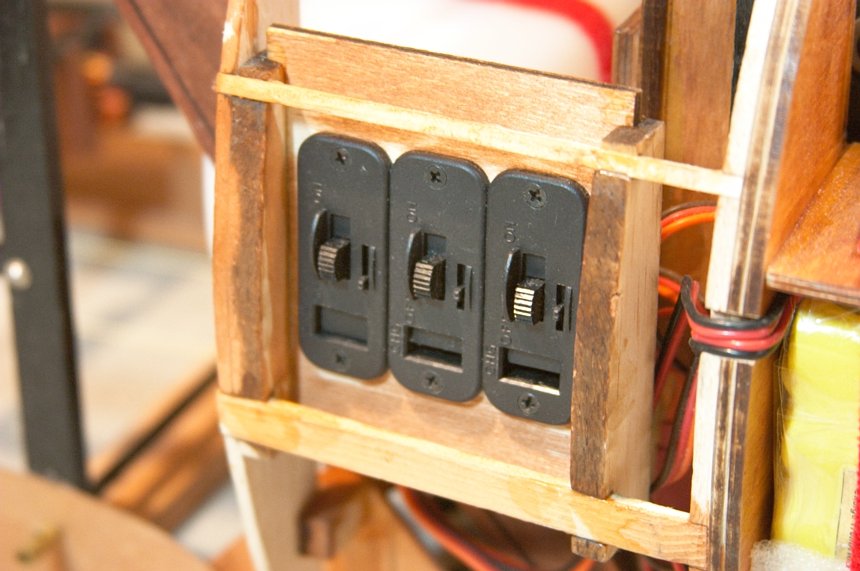
Ignition and dual receiver battery switches
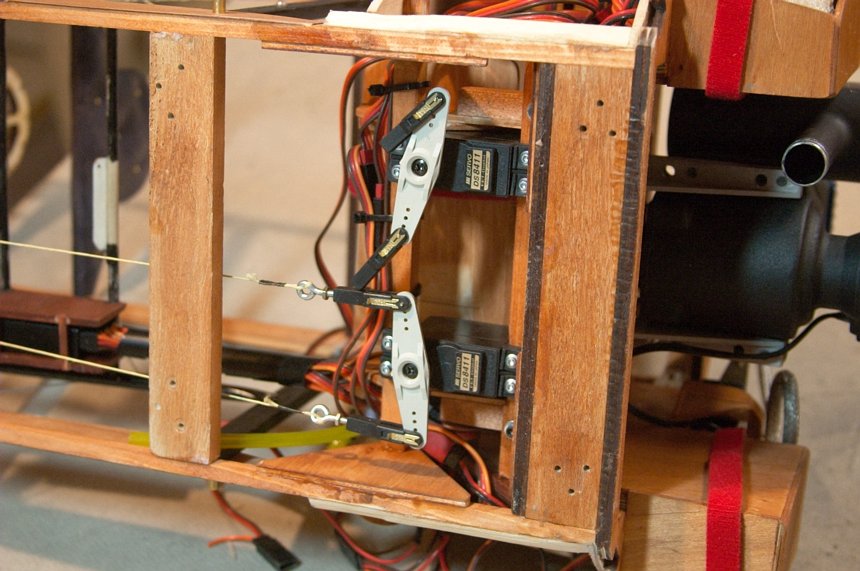
Rudder and elevator servos.
|
|
|